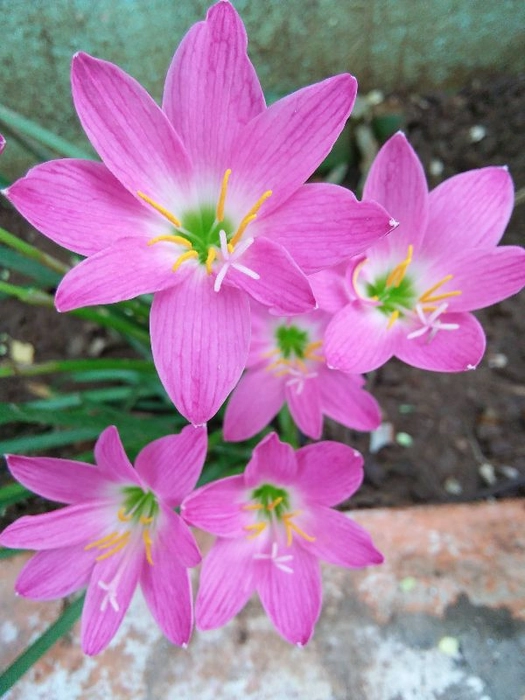


Rain Lilly
How to Plant
For outdoor landscape planting, find a location with well-drained soil and plenty of sunlight. Dig holes and plant the bulbs 1–2" deep and 2–4" apart. In softer soils, these little bulbs can be dropped into holes made with your finger or the end of a stick. Poke, drop, cover, next.
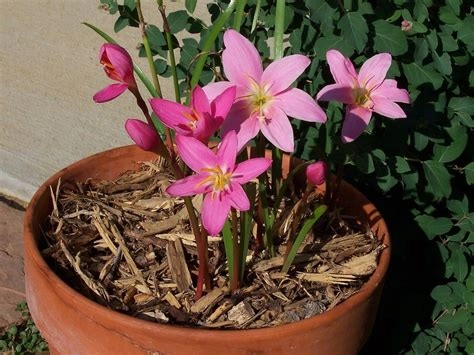
For container planting, start with well-drained potting mix in a container large enough to house your plants. Dig holes and plant the bulbs 1–2" deep and slightly closer together, as they prefer to be crowded in containers. Drop the little bulbs into holes made with your finger or the end of a stick. Poke, drop, cover, next.
Water thoroughly, soaking the soil to settle it around the bulbs.
How to Grow
Provide about 0.5" of water per week during spring and summer, increasing to 1" per week to trigger flowering late in the summer.
Leave the foliage in place after blooming has finished for the season. The leaves will gather sunlight, create food through photosynthesis, and strengthen the bulbs for the future.
Remove foliage once the leaves turn yellow and die back as the plant slips into dormancy.
Allow your Rain Lilies to rest for a while before beginning the next growing cycle in the spring.
Rain Lily Tips & Tricks
Partner your Rain Lilies with other low-water plants such as Amaryllis, Watsonia, Crocosmia, Kniphofia, and Scadoxus.
Avoid planting these bulbs in containers with early-season bloomers that require more moisture during their flowering periods, as Rain Lilies perform best with little water from winter through mid-summer.
Be sure to plant the bulbs immediately, as Rain Lilies resent being out of the ground for long periods.
Expect foliage to appear a few weeks after planting and flowers to arrive in late summer.
Bring container-planted Rain Lilies indoors, keep them dry for the winter, and then set them outdoors again in spring

