Product photography has emerged as an essential part in the world of eCommerce.
It is actually one of the most important elements of your product description, and with good reason.
Did you know that the human brain processes an image in 13 milliseconds? That’s 60,000 times faster than text!
It took you longer to read & understand that sentence than it would to infer the same amount of information from an image.
That is probably the reason behind the saying –
In this article, we will tell you everything about product photography, right from what it is to how you can master it.
What is Product Photography? 📸
Product photography is the way you present your product visually to your customers.
In an online store, you have a long list of available products, now how would you explain to your customers how the product works, or looks for that matter?
This is where product photography comes in.
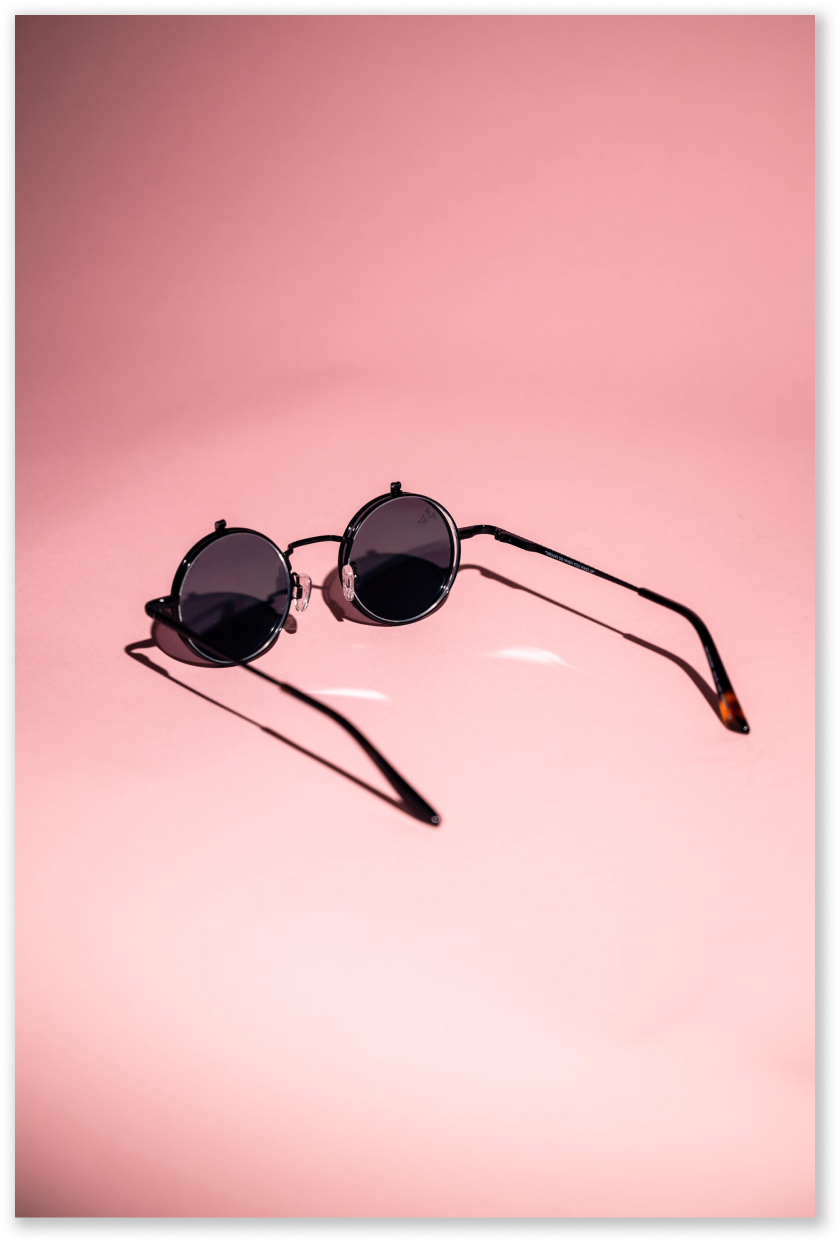
Being a part of the description, photography helps in capturing the viewer’s attention instantly.
By the way, did you know that a first impression is made in only 7 seconds!
That’s too little time to spend on words. You need images to speak for you ( & your products).
Product photography includes different elements like lighting, layout, details, equipment, setting, and such. We will discuss them all later in this article.
First, let’s see why it’s important to click great pictures of your products.
Why Product Photography is Important?
Well, it’s natural to think why you need to put so much effort into a product photoshoot?
So, when we click a selfie, we try different angles and search for the best lighting, and find the best background, to make it look perfect, right?
In the same way, product photography needs the perfect balance between lights, setting, angles, etc.
- It increases the perceived value of the products & the brand.
- Creates a Lasting First Impression.
- Pictures are critical to purchase decisions.
To understand why product photography is so important, let’s start with some stats. According to Etsy, 90% of their sales are driven by the quality of their images.

90% is huge, right? But that isn’t all. There are other reasons to focus on your image quality as well.
Among other things, product photography is important because:
1. It increases the perceived value of the products & the brand
A good quality product, if not portrayed with a high-quality image, looks like a poor quality product.
That’s how significant it is. Your customers can only see and gauge your products through your images and they play a huge role in how your brand’s and your product’s quality is perceived.
A good quality image can improve your product’s value in your customer’s mind and vice versa.
This is especially great for dropshipping businesses because their whole operation is based on imagery
2. Creates a lasting first impression
As mentioned above, pictures are crucial in creating first impressions in the minds of your customers.
With a good picture, your customers will instantly be hooked to your product and will want to know more about what they’re looking at, and buy that product.
If at the first glance, the customer doesn’t like your product, they will immediately leave. They don’t generally bother to take a second look.
First impressions stay with the customer and they make a more permanent impression than you’d think.
Make sure you leave a good one.
3. Pictures are critical to purchase decisions
For many buyers, pictures are the most important aspect of their decision regarding buying (or not) a particular product.
For some, it is even more important than the price!
Even for those who do not decide solely based on the pictures whether to buy something or not, pictures still play an important role.
It just comes down to this –
You shouldn’t leave your customer wondering what your product actually is.
Types of Product Photography
There are seven most common types of product photography techniques that are used while carrying out a photoshoot for your product.
- The Studio Shot
- The Lifestyle Shot
- The Detail Shot
- The Scale Shot
- The Group Shot
- The Packaging Shot
- The Process Shot
1. The Studio Shot
What comes to your mind when you think “product photo”? A white background, good lighting and just the product in the frame, right?
That’s exactly what this kind of photography is.’
Although, the white backdrop has lost its popularity. As long as the background is solid coloured, you’re good to go. No need for a white one specifically.
PS – It’s even better if the background complements your brand colours.
The studio shot basically shows your product in a clear light, with no distractions and a plain background. This helps customers see what the product is.
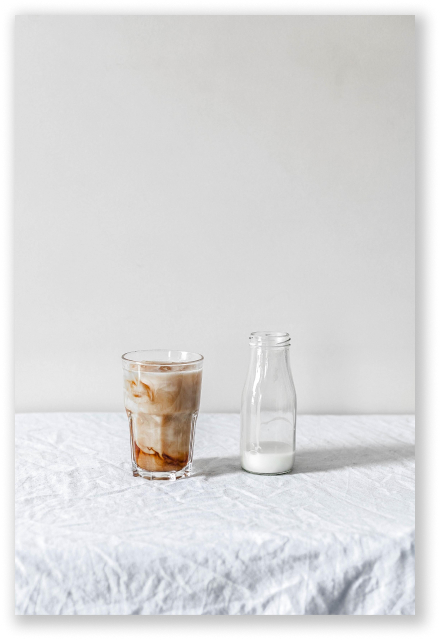
This type of shot is most commonly used on product pages.
This is the kind of picture that clearly shows what your product is to the customer, and attracts them to your product.
2. The Lifestyle Shot
This is the kind of picture that shows how your life would look if you used this product. When you see pictures like these, you’ll see more than one element with your product.
The whole setting of this shot creates an idea in your customers’ minds, of how their lifestyle would change when they include your product in their lives.
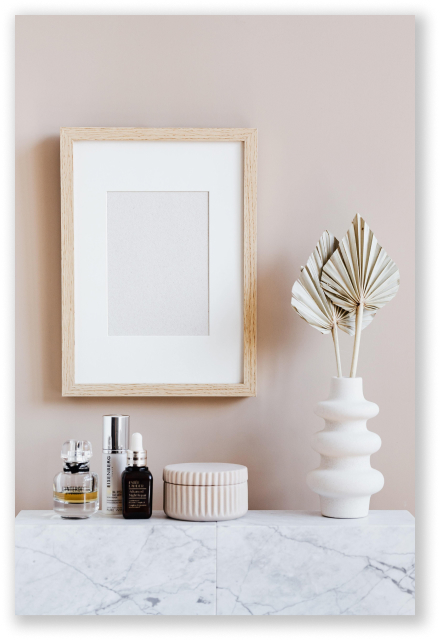
You can show happy customers, having a good time, or create an aura of serenity with this kind of product photography.
It creates a sense of connection with your brand and product in your customer’s minds.
This kind of picture is generally used on your website or social media.
3. The Detail Shot
This is a close-up shot of the product.
This kind of photography is used to show the customer the intricacies of your product.
A close-up shot reveals details that are not generally visible to the customer in other pictures.
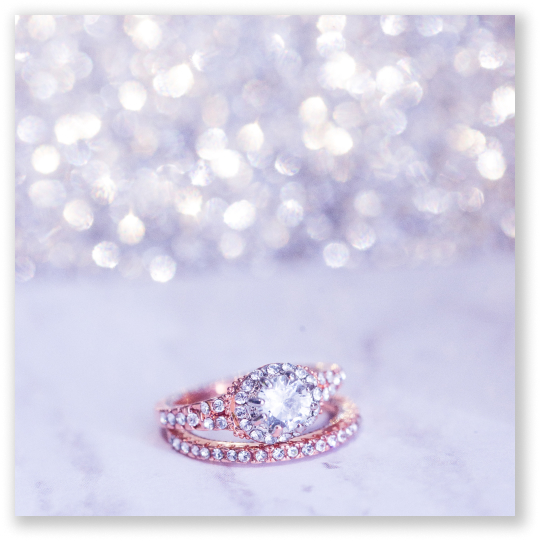
Think of it like this- your customer takes the product in their hand to inspect it more closely when they come to your physical store, but there’s no way to do that when they’re shopping online.
When they see the detail shot, it has a psychological effect on them that you(& your products) have nothing to hide. Everything is authentic and they’ll get their money’s worth.
These kinds of pictures are mostly used on product pages.
4. The Scale Shot
The scale shot is the kind of picture that shows your customers the actual size of your product.
This kind of image generally has another element in it with your product, so that the customer can gauge the relative size of your product.
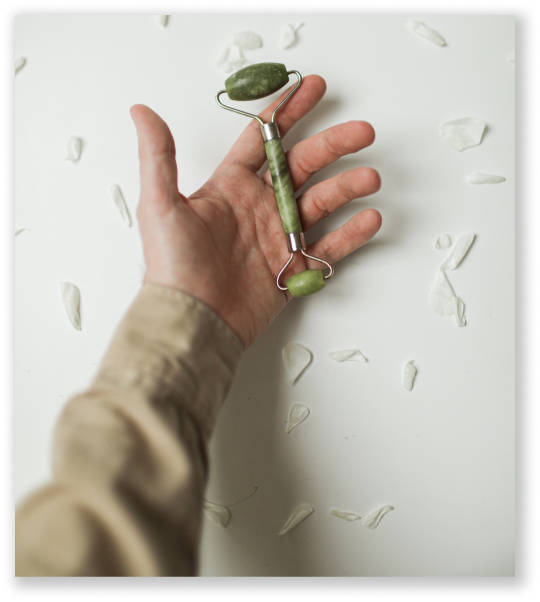
Close-ups and studio shots, even lifestyle shots do not do justice to a product when it comes to its size.
These pictures can mislead the customer into thinking that the product is some other size, when the truth is different.
They might feel cheated even though it was never your intention to do so.
Decide if your product needs this kind of photography done and if you think it would help, always include the scale shot in your description.
5. The Group Shot
This kind of shot is where multiple products are clicked together.
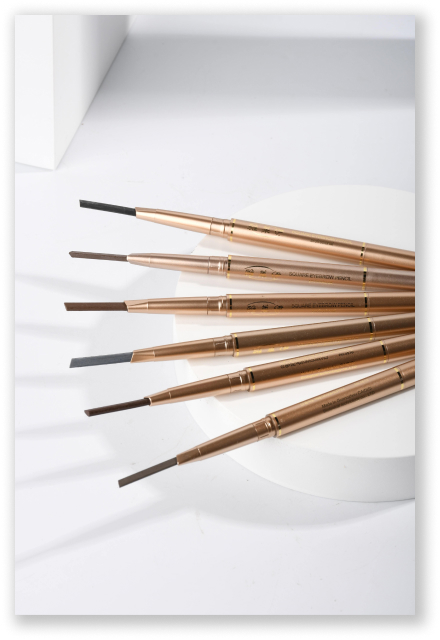
It is used to click bundles of products, like a set of candles, or an assortment of chocolates, or even variations, like in this picture, you can see different eyebrow pencil colours.
It can also be used to depict depth, like in mugs or cups; the finish of a product, like jewellery, etc.
It is most commonly used on product pages.
6. The Packaging Shot
The packaging shot is something most people miss out on. It shows your product packaging and gives your customers an idea of your branding. A creative approach, such as showcasing your product in photo collages, can emphasize multiple angles of your packaging.
It is used to show off the uniqueness of your packaging and to show your customers just how gorgeous your product packaging looks.
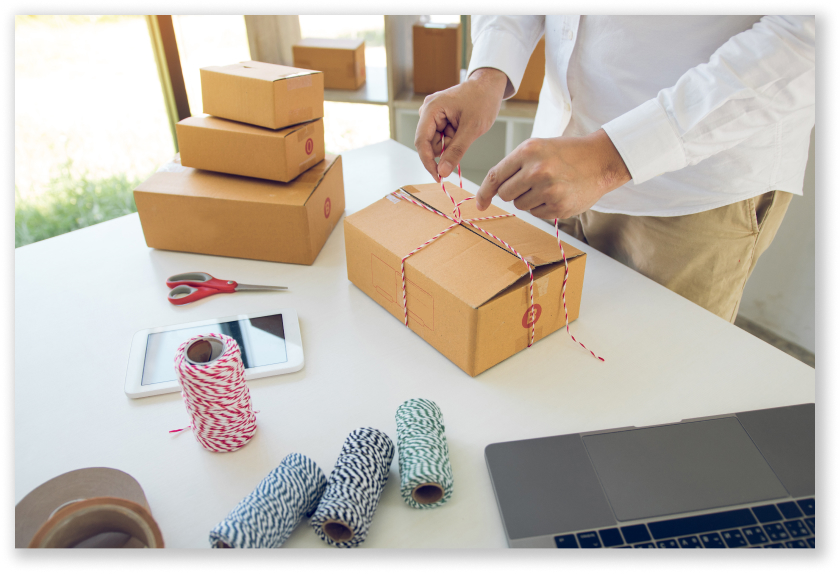
In today’s age, with sustainability being immensely important to people, you can use this kind of photography to show how you take the responsibility of being an eco-friendly brand seriously.
It is also most commonly used on product pages.
7. The Process Shot
This is where you visualise the process that goes on behind the scenes.
The process shot depicts your hard work, talent and the effort it takes to deliver to your customers, what makes them so happy.
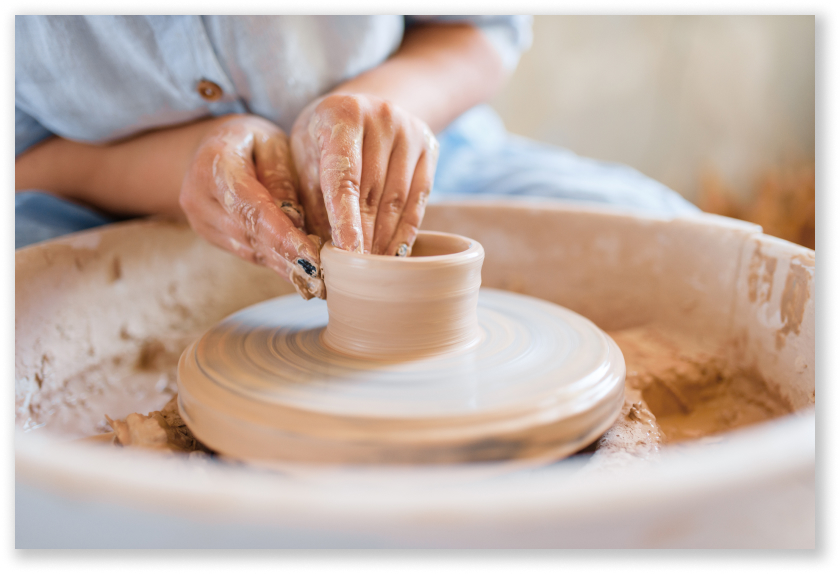
This kind of photography is best for handmade goods where it takes a lot of precision, but you can always take a fun, exciting spin on your product’s manufacturing process.
This also helps build trust and a connection with your customers.
These pictures are most commonly found on product pages and social media.
You can always add a picture of a happy customer enjoying your product, all you have to do is dive into your customer reviews and find one that you think is the best.
These pictures can be used on your website, product pages and social media. The effect a real customer’s happy picture can have on your potential customers is unparalleled.
You can use any number of the different types of product photographs to properly showcase your product to your customers.
You’ll need more than one type. Figure out what types work best for you and get clicking!
Equipment Needed For Product Photography
Wait, wait, wait!
Before you start clicking, have a look at all the equipment you might need for the perfect picture.
When you hear the word photography equipment, something like this comes to mind, right?
We see how it can be intimidating. However, worry not, we have made a list of the most simple and effective equipment to use for the perfect product photoshoot.
1. Camera
The very first thing you need to click a picture is a camera. Don’t worry, you don’t need anything like this.
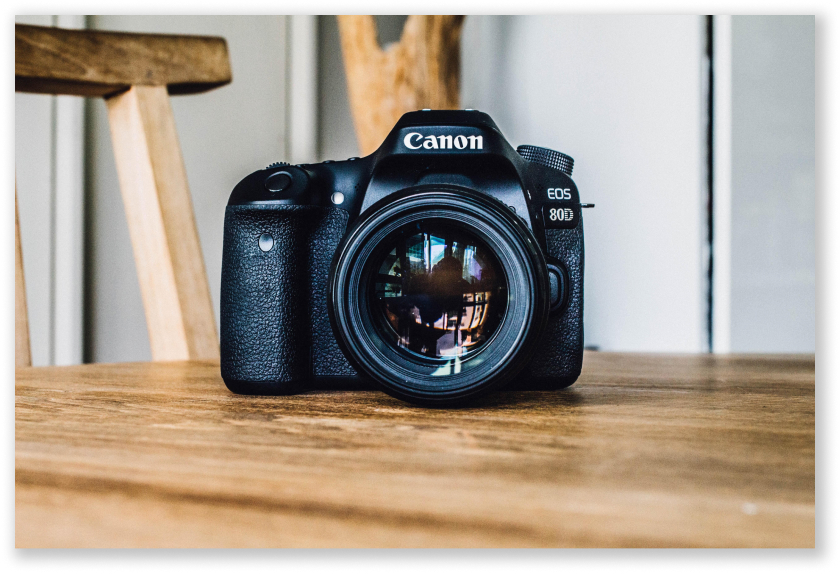
You can use a DSLR camera to shoot your product images and make them look like a professional shot them.
A DSLR camera is a professional grade camera that might be expensive but will give you high-quality pictures of your product.
See this cute little thing? It’s enough for your product photoshoot.
If you don’t have a DSLR, you can use a compact (or point & shoot) camera to get the job done as well.
The most important thing to keep in mind is that the camera doesn’t click pictures itself, you click them. Even with a modest camera, your pictures can come out pretty good.
2. Lenses
Lenses help you capture the whole picture or some specific detailed part of it, whatever you want to capture.
The two most common lenses you will need for your photoshoot are –
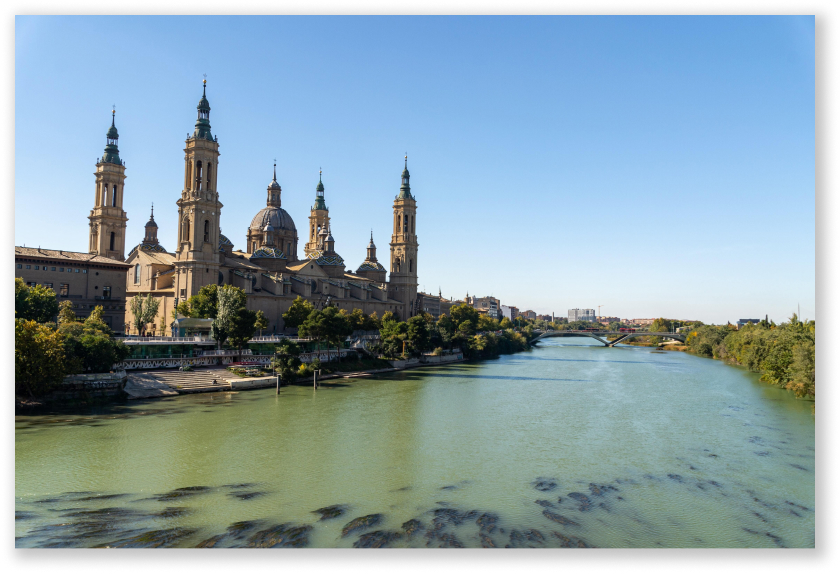
(i) Wide lens – Wide lenses help capture a bigger picture, like in a lifestyle shot. When you have multiple elements in a picture, or you want to showcase a bigger canvas, you can use a wide lens to capture it.
A picture shot with a wide lens looks something like this.
(ii) Zoom/telephoto lens – Now, when you have to draw your customers’ attention to the details of your product, you can use a zoom lens.
This is most commonly used in the detail shot. If you want to highlight a specific feature of your product, or a particular aspect, you can do it with a zoom lens.
A picture taken with a zoom lens looks something like this.
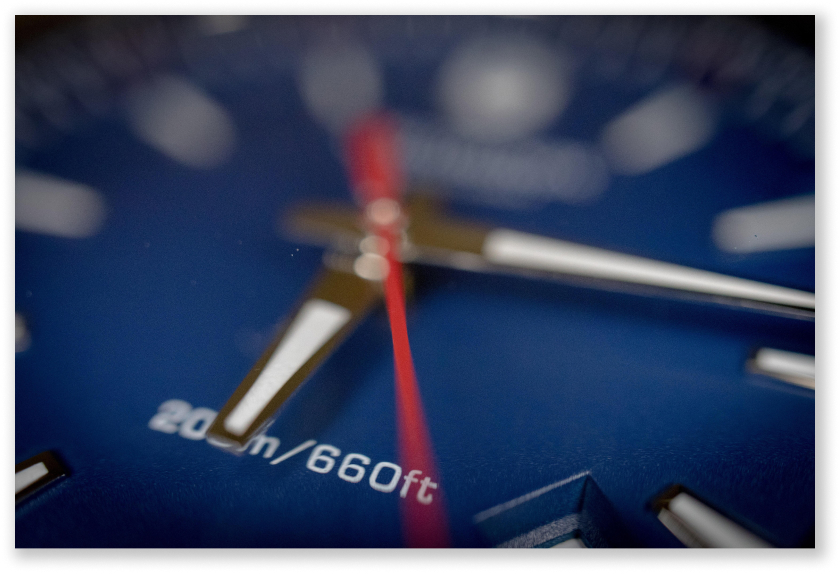
In this picture, the customer is being directed towards the water-resistance feature of this watch.
3. Tripod
Ever noticed that when you click any picture by holding a camera or phone in your hand, the images come out blurry?
Well, we can’t have that for our product now, can we? That’s where a tripod comes in.
A tripod is a stand on which you place your camera so that you get steady, clear pictures.
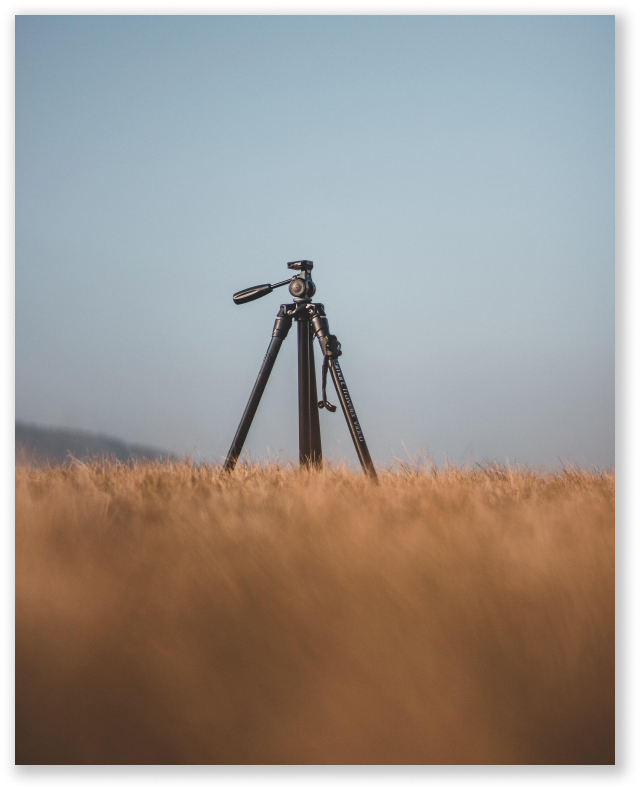
There are a lot of options available in the market for tripods, and you can do your own research and find one that suits your needs best.
We recommend one with extendable legs so that you can adjust it to suit different heights, and it is portable also.
4. Background
A white background is preferred for most photoshoots because it brings out the product details and gives a smooth effect to your pictures.
To achieve the perfect background for your pictures, you can use a portable photo studio. It looks something like this.
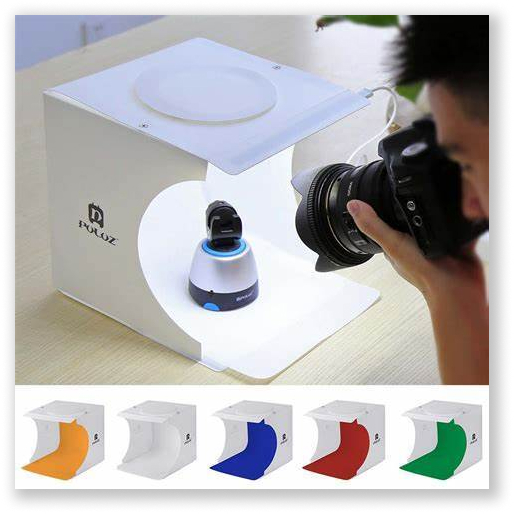
This photo studio comes in different sizes and is portable. You can easily click great pictures against a seamless backdrop with this.
Another way to do this is to get a white sweep to create a good background.
A sweep is a bendable sheet of paper that is used as a background for capturing images or videos. It covers the surface beneath your product to give the effect of a smooth background.
PS – Keep in mind that the white sweep should be white, not off-white or cream, or any other colour.
5. Lighting
Now comes the lighting for the product photoshoot.
Lighting is an important part of pictures. So important, that it can make or break the image.
No matter how great your camera and lens might be, if the light doesn’t hit the product in all the right spots, your pictures will not come out any good.
For products, you can easily use LED lights to illuminate them. They look like this.

Another piece of equipment that you will need is a reflector.
So, when you click a picture, be it in natural lighting or artificial light, there will be two sides- one lit and the other that has a shadow.
A reflector is a piece of equipment that reflects light. It is placed opposite to the source of light, in this case, LED lights.
It reflects the same light to the other side of the product, so it looks balanced and well lit.
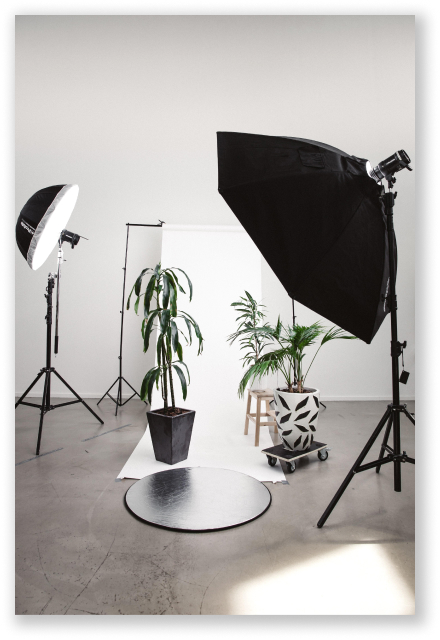
Do you see the circular thing on the floor? That’s a reflector.
In this case, it is reflecting the light to the lower part of the pots, so that the image looks equally lit.
Reflectors can also be used to create shadows and depth if used creatively, you just need to set them at certain angles to accomplish this.
6. Table
A regular foldable table is adequate for product photography.
You can get one that is around 25-27 inches wide. It can be used to set up your setting, as a backdrop, or just to place your camera and tripod on.
7. Tape/Clamps
These are simply there to hold your product or your background in place while you click pictures.
If you want your product to stay in the perfect position as you placed it, you can use tape or clamps to keep it together easily.
Ideas for Product Photography
Even after doing all the research and gathering all the equipment, inspiration might not always strike.
For times like these, you can browse the following ideas to keep you inspired.
1. Create a Scene
You can create a scene around your product by using the natural elements around you, or adding some elements that would help make the product pop!
2. Use Macro Shots
Macro shots are important to showcase details and depth in a product’s picture, and you can use them to your advantage. These pictures can be used to engage your viewers’ senses.
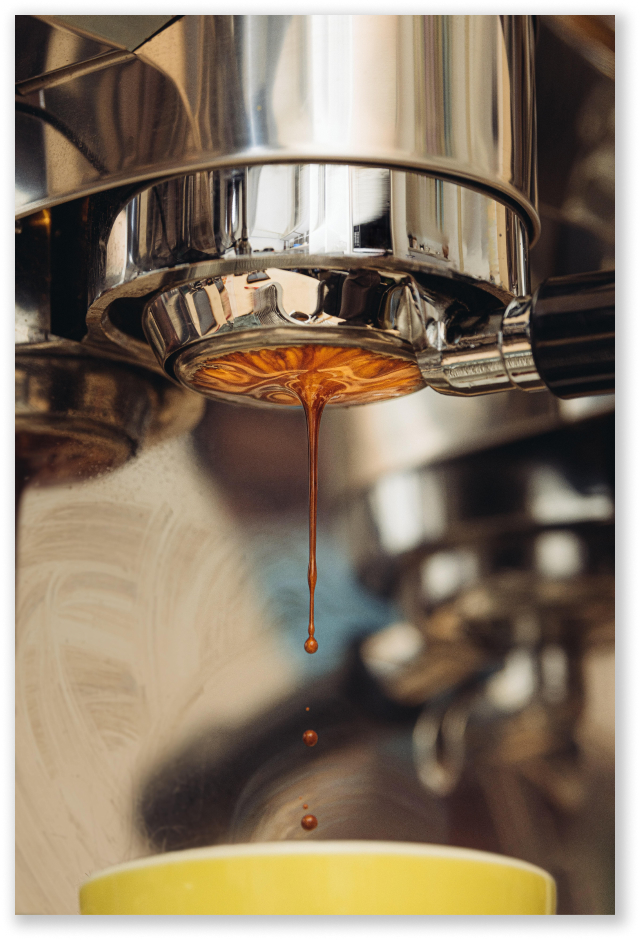
This picture elicits a sense of taste in a customer’s mind. We didn’t tell you what the picture is about, but you can taste this picture, right?
This is the magic of macro shots. Don’t shy away from using them.
3. Play with the Background
You can do a lot with the background.
One of the most fun things to do can be to place the product in the background itself.
We know it sounds strange, but hear us out.

In this picture, you can see the lamp, but it is not the first thing you see.
You know that the main product being captured is the lamp, not the plant.
Even though the lamp is in the background, you know quite well that your focus should be on it.
You can try fun things like this with your background as well.
4. Capture a Freeze-frame Image
A freeze-frame image looks like this.
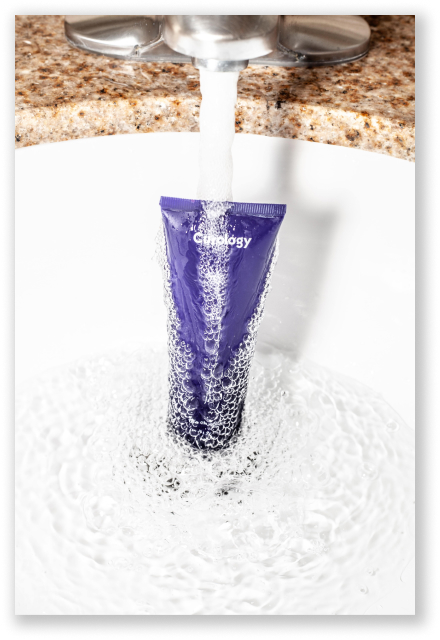
Freeze-frame shots are such a cool way to make time stand still, all the while showing your product in use.
This is a difficult shot to master, though, and takes more than some time and effort to get the perfect freeze-frame for your product, but it is worth it.
5. Manipulate Your Photos
Ok, let me show you what this is first.
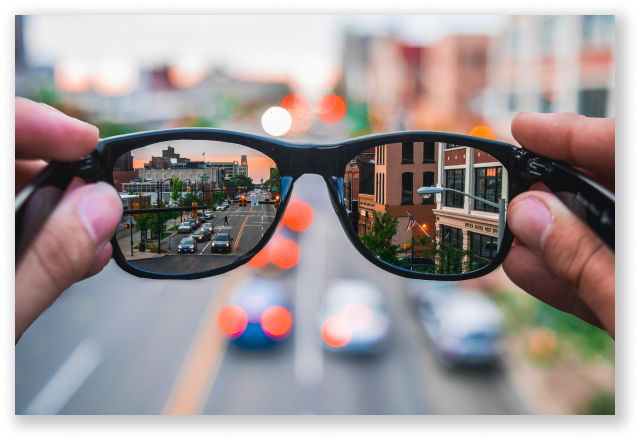
Here, you can see two scenes in one picture. This is what photo manipulation does to your pictures.
This is a great example of a product photo of sunglasses. Anybody watching this image will want to know more about the product and buy it.
These pictures need more than a camera and some photo editing skills, but they’re super fun and cool, so you can experiment with them for your products.
6. Put your Product in Context
You can show your product being used by customers. Real-world images that show the product in use serve more than one purpose.
For example, if you’re an activewear company, and you show your product being used in the gym or during exercise, it helps your customers know how to use your product and how cool it looks while being used.
Another trick to use here can be to show your product being used unconventionally!
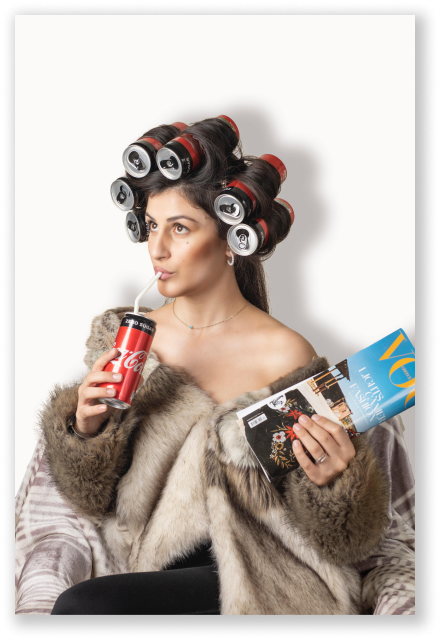
For instance, how cool is this use of Coca Cola drink cans!
7. Play with Angles
In your physical store, your customers can see your products from all angles and can hold them in their hands, but in your online store, this can be a problem.
To remedy this, you can play with your angles and show your customers every aspect of your products.
You can also show them your products in 360 degrees, with the help of Arqspin.
8. Use Props
You can always use props to make your product pictures more interesting.
Your props can be other products that you sell, or they can be any other object that helps viewers visualise the use of your product better.
Mirrors or reflective surfaces make for amazing props.
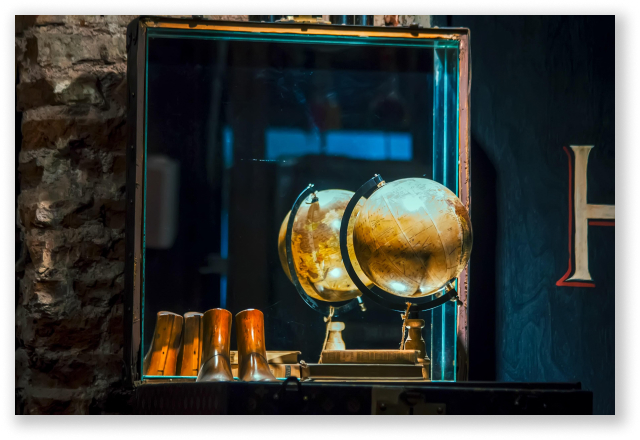
For instance, this mirror here shows your product in 360 degrees, without much effort!
9. Show Suspended Products
When we say suspended products, we mean something like this.
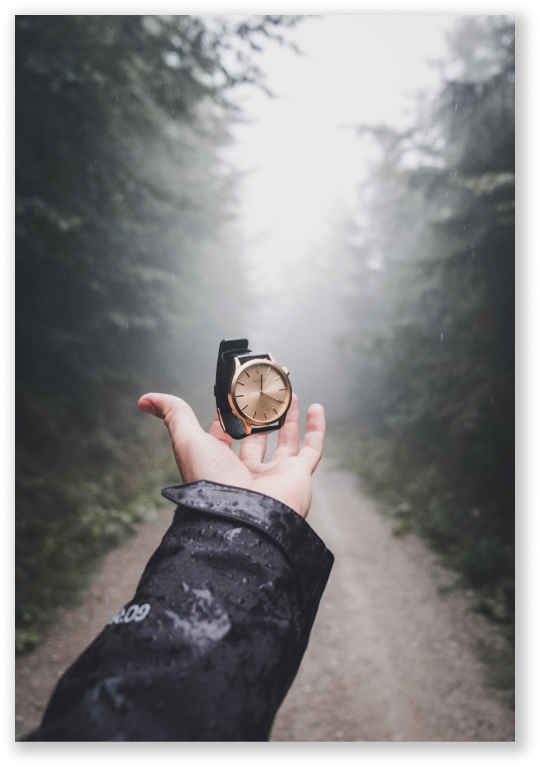
This type of photography takes some time and effort, but do you see how cool it looks?
It is sure to make a lasting impression in your customers’ minds.
The best part is that you can achieve this by just using a fishing line or even a kite string while clicking the pictures.
Later, you can edit it out of the picture with some tool like Photoshop, etc.
These are all the different ideas that we have for product photography. Try out one (or all) of these for your next shoot!
Bonus Tips
Here are some additional tips that you might want to keep in mind while clicking product pictures.
Conclusion
Product photography plays an extremely essential role in determining the sales of a product. You can master the art of professional photography from your home, with minimum equipment & effort, just with the help of this article.
Now that you have a complete idea of the details like the set-up, lighting, aesthetics, equipment, and everything in between that is needed to capture beautiful product pictures, you can finally get clicking!


This is wonderful info with how-to’s!!! It is appreciated.